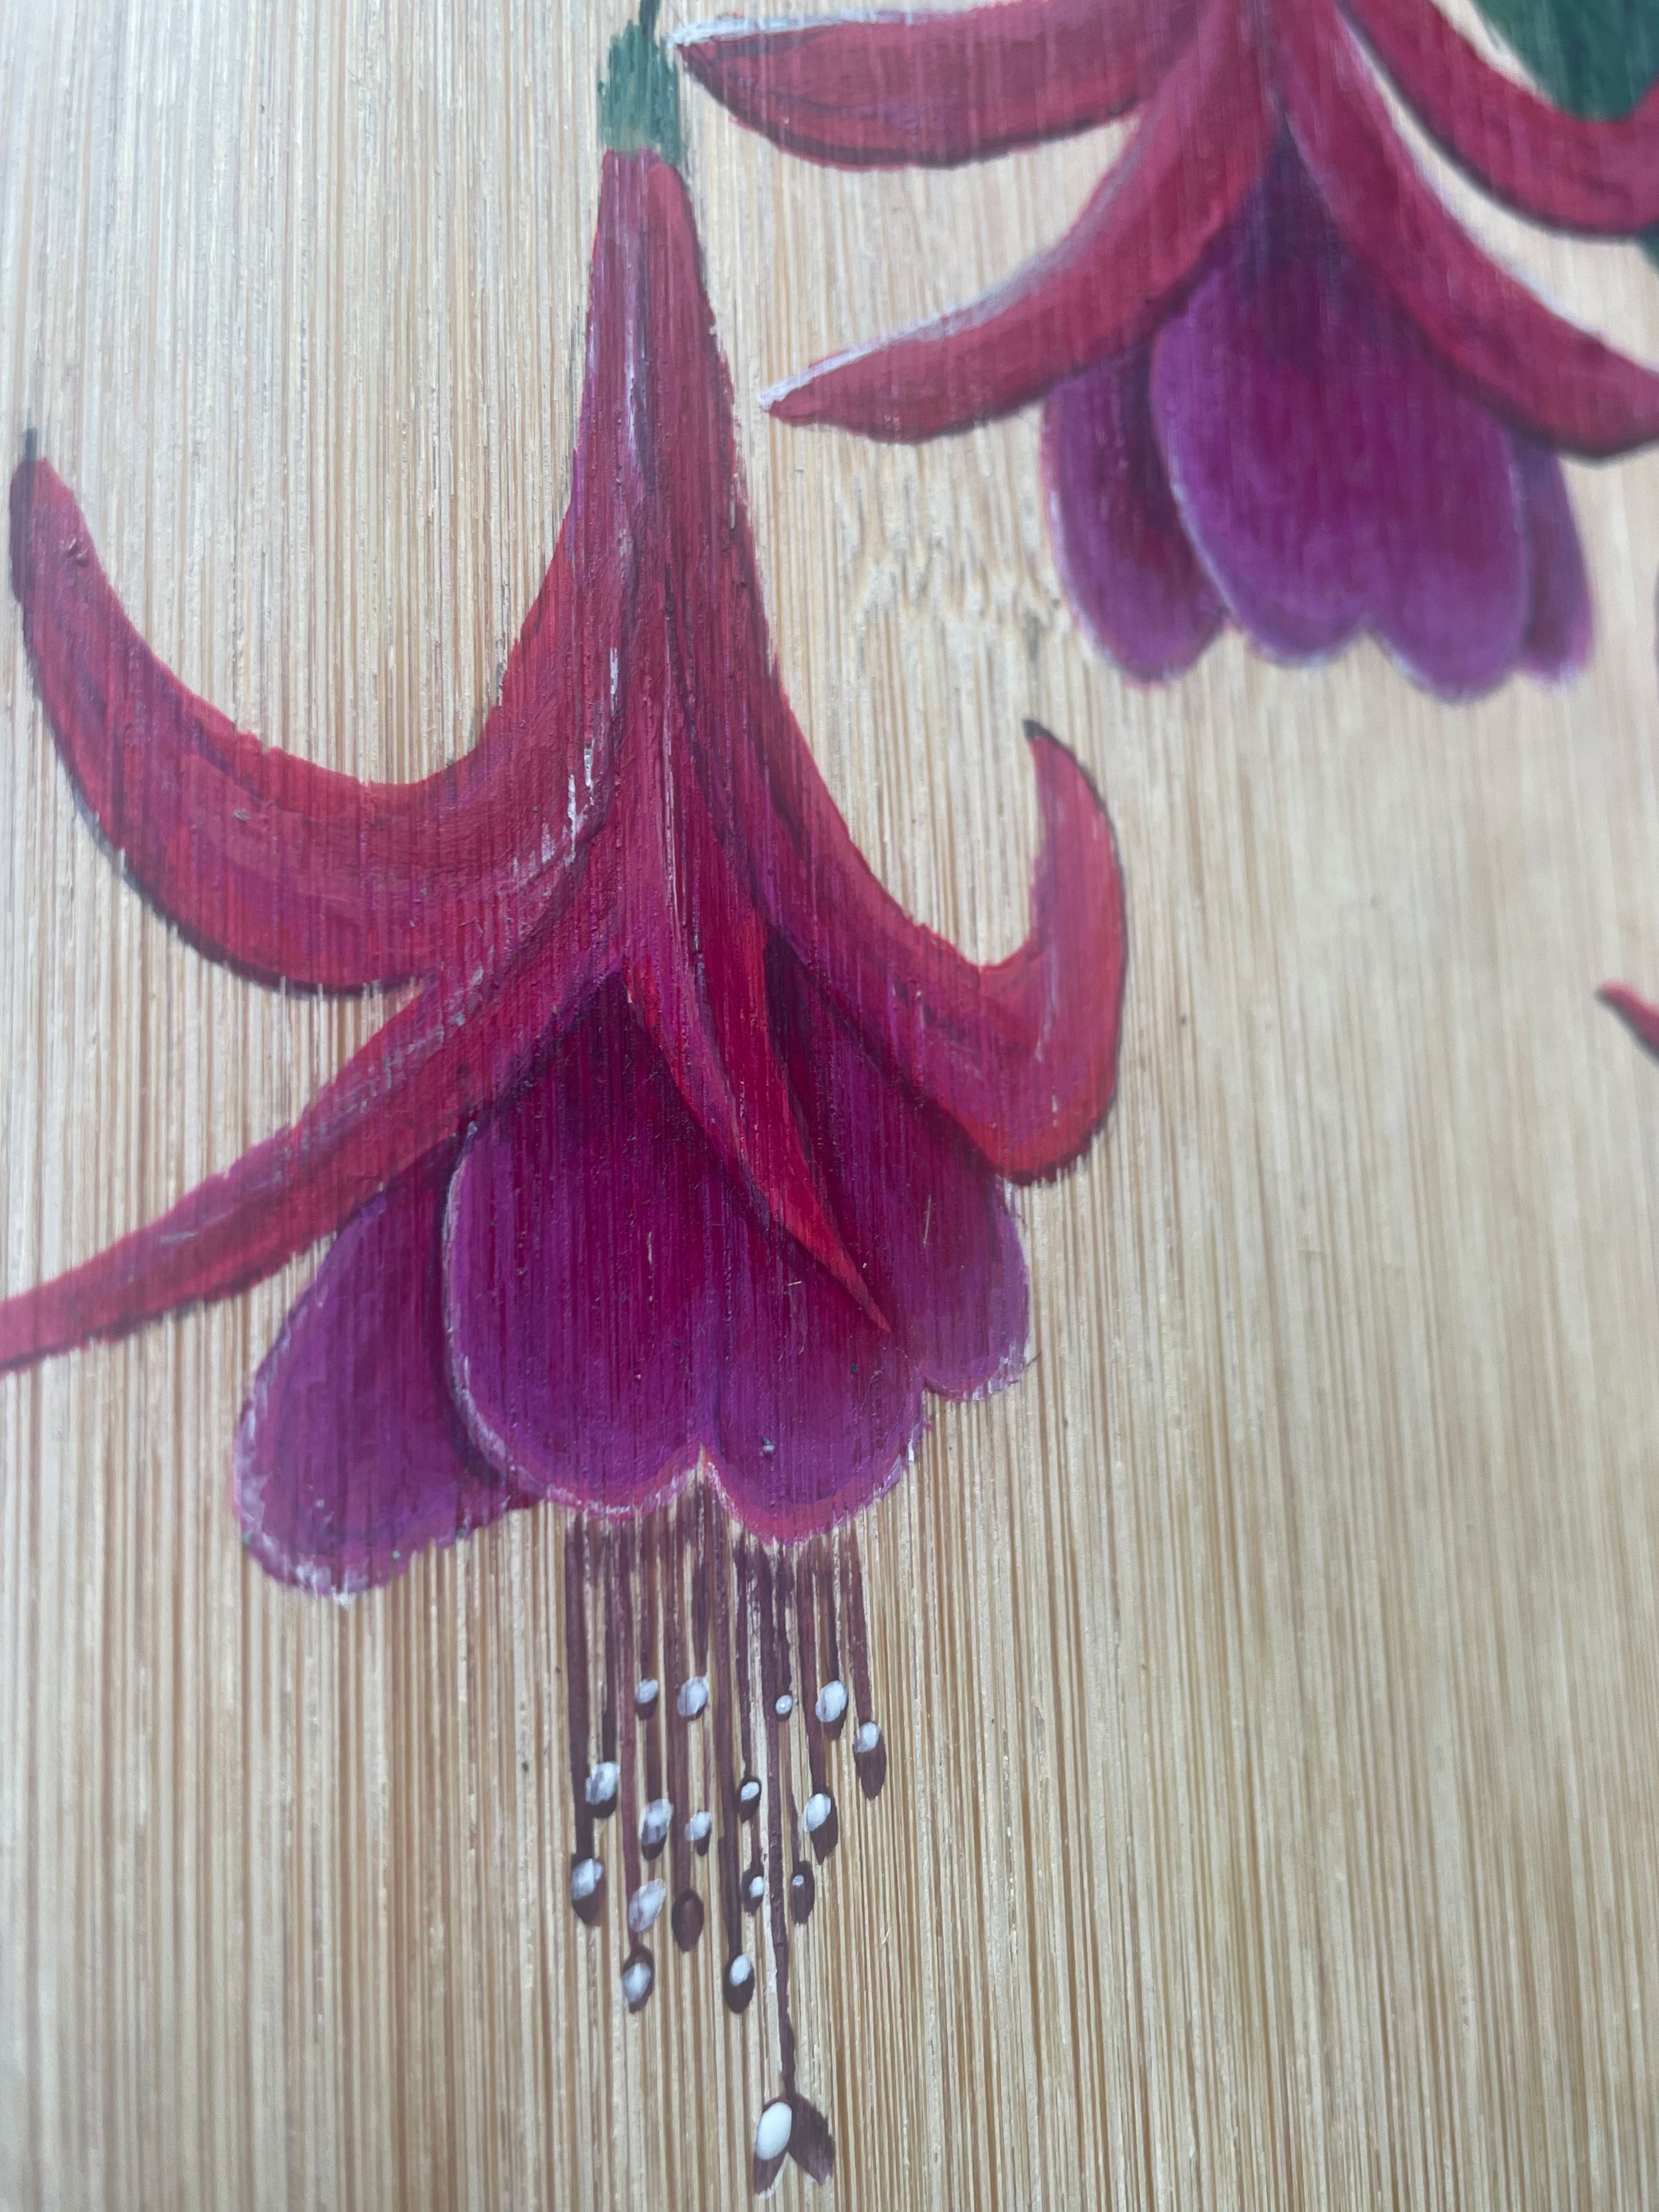
Step-By-Step Painting- Acrylic Painting of Fuchsia
The fuchsia flowers are vibrant and their pretty drooping petals look like they would make pretty dresses for fairies. These flowers have adapted specifically to accommodate hummingbirds. They do particularly well in hanging baskets.
Materials
Brushes, Paints, Canvas, Free Printable
Step 1
The petal’s growth direction is very important. You can use the following image as a guide as you paint and blend colors. Sketch or trace the line drawing lightly on your canvas. You can also print it for Free here.
Step 2
Get your supplies ready. Make sure to have different shades of each color. For example, keep light red, regular red and dark red or mix with black to make a darker shade or white to make it lighter. Here we will be using shades of red purple and green.
Step 3
Use a clean brush to lay in a dark value of bright red on the top of the globe. Block in the violet in the darkest areas of the flower especially away from the tips. Mix in the rest of the petals with lighter shade of the bright red. Fill in the areas with the paints accordingly. Draw a white line around the petals to help you distinguish between each petal.
Step 4
Base the leaves and stems with the light green mix of sap green and white. Blend the colors on the petals and leaves in the appropriate growth direction.
Step 5
Base the pistil and stamens with dark red. Add highlights on the calyx lobe with a mixture of red and white to the tips of the petals. Highlight the pistil and stamen with white.
Step 6
Add highlights to the leaves and stem.
Step 7
Blend the highlights on the leaves in the right direction.
Step 8
Add the final details on stamens and pistils.
Here I have used a thin brush with darker tones where the shadows are and I have added highlights to the petal, leaf, and stem. Add the finer details and make it your own!!
Hope you enjoy painting these gorgeous flowers! If you try them, share your work with me @sheebachandini, #sheebachandini.


